
This has a been a long post in the making, since it was last summer when I finished this, but it has taken a while to get around to putting it all together. It was last summer when we decided to get some planters for our very bare front porch to match our new, more modern siding. We found many people online converting old file cabinets to tall planters, such as https://www.instructables.com/DIY-Filing-Cabinet-Planter, so we decided to try our own hand at the design.
The first part was finding file cabinets, which, if you don’t get them used or already have ones you want to destroy, is pretty pricey. Since we did not already have file cabinets, we turned to one of our favorite places for used equipment – our local university Reuse store. They sell used university equipment to the public occasionally, and you can always find all sorts of random stuff for sale there. They almost always have a stock of filing cabinets that some office is getting rid of, and I was able to get two four-drawer filing cabinets for about 20 dollars each. I was able to barely fit them into my car, brought them home and cleaned them up and took out the drawers. After they were very well scrubbed (which being from a reuse warehouse, they were quite dirty), we gave them two coats of black spray paint.
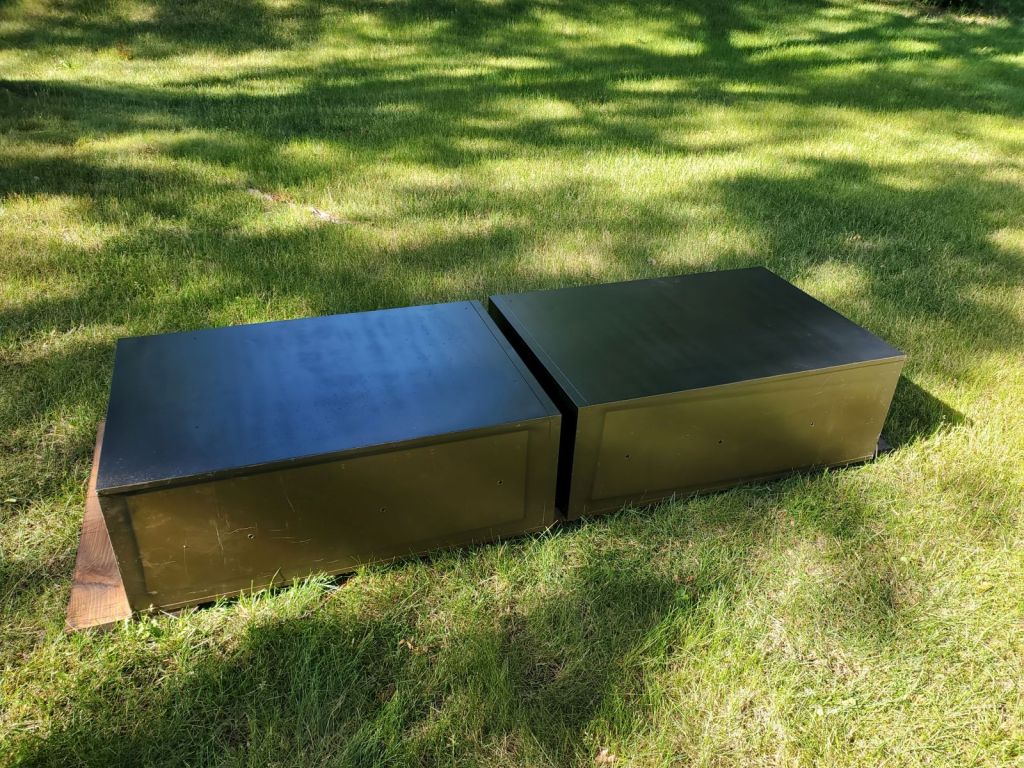
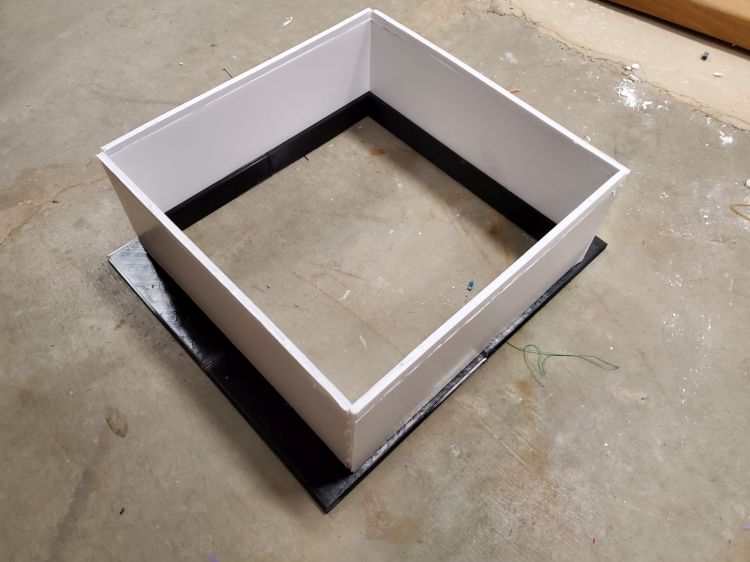
Once these were painted, several drainage holes were drilled on the bottom of each filing cabinet. Since the cabinets will be placed on a concrete porch, I was worried that the water that drained out would pool on the cabinets base and hasten the rusting of its bottom. To remedy this, I planned out a wooden base that the cabinets would rest on that would raise them above the ground level. With the wooden base set, I then realized that if I added casters to the base as well, they would be able to be moved around much more easily.
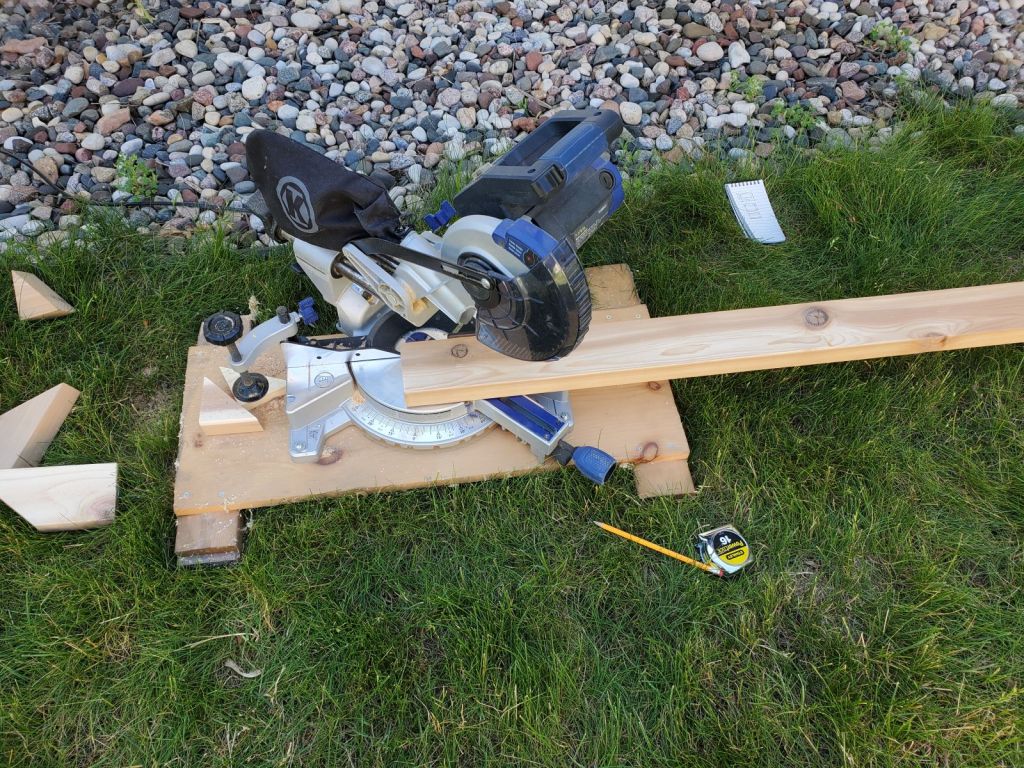
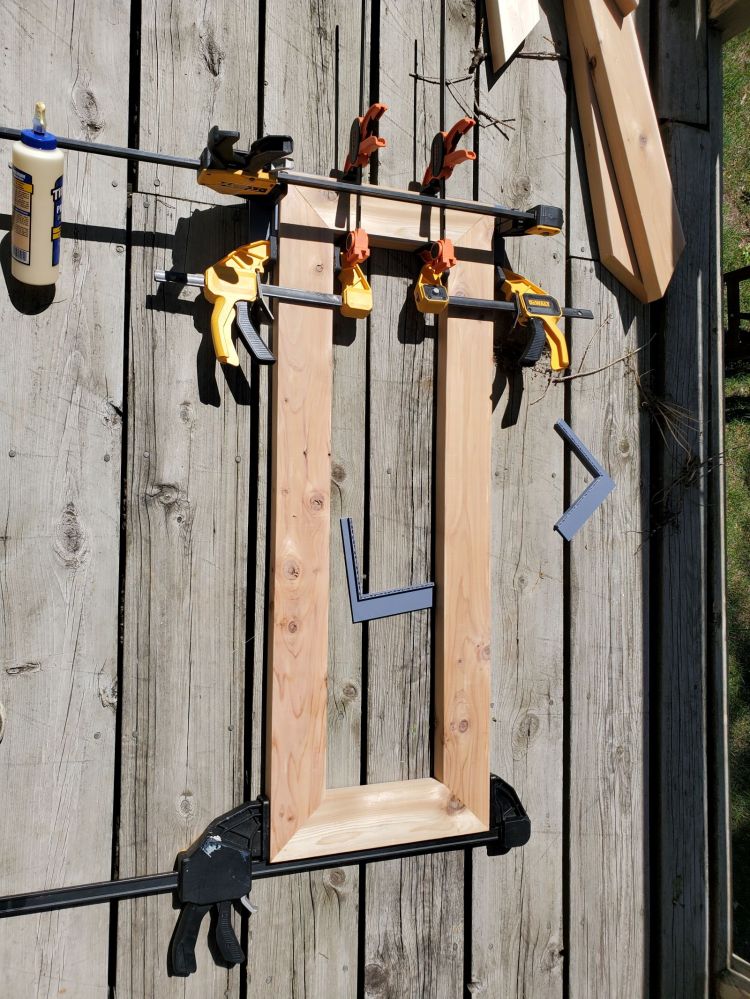
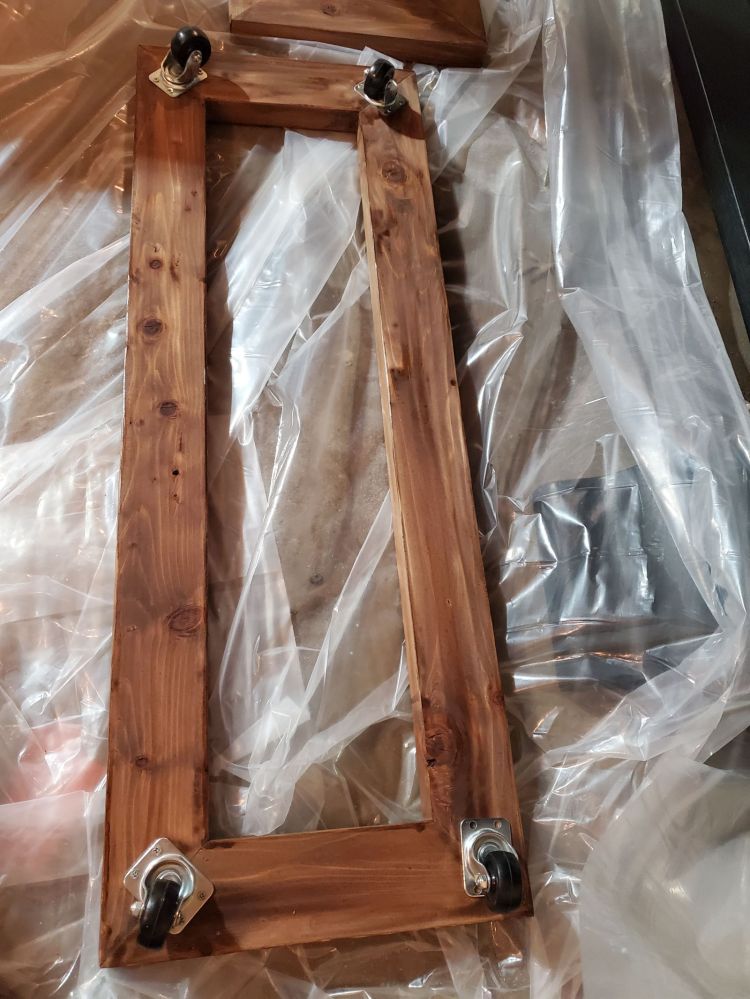
The wooden base was constructed of mitered cedar boards that where then glued together with some corner clamps. Some cheap casters were obtained from my local Surplus store and screwed into the bottom, and then the whole assembly was bolted to the bottom.
Once this was complete, the whole assembly was moved to the porch, so I didn’t have to move it once it was filled up with dirt. Now came the step of figuring out how exactly to fill these with dirt and plants!
My original plan was to fill them with extra rocks on the bottom for drainage and then fill the top third with dirt for the plants. We had a ton of old landscaping rocks that we were planning on getting rid of anyway, so this would be the cheapest option.
After realizing how heavy that would be and how much rock and dirt would have to move, I opted for buckets that would sit inside the drawer holes instead. I scoured hardware stores and the internet for plastic buckets that would fit snuggly and flush inside the cavities, to no avail. Nothing I found fit well enough. Thus, it was time to turn to the 3d printer. I measured the opening and modeled up a simple rectangular bucket that could sit nicely inside and flush with the top. Printing out a whole bucket of that size would take an excessive amount of time for such a simple shape that would not be seen. So instead of printing out the entire piece, I would place simple hardware store plastic pots on boards laying in the cabinet, and print out extenders that would make them sit flush with the top.
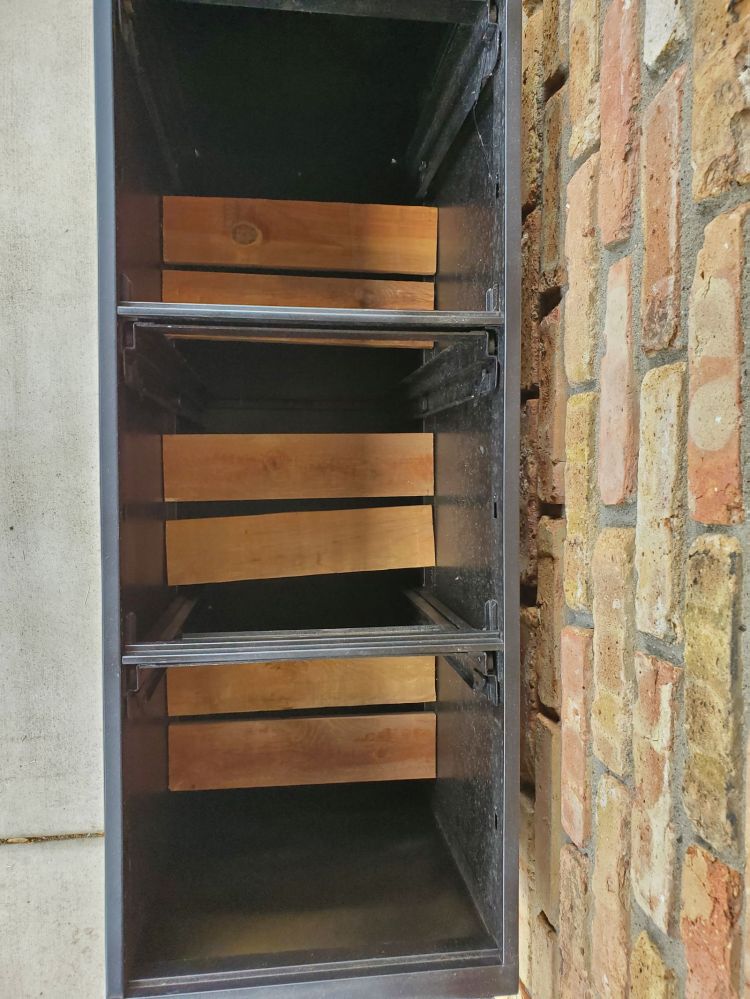
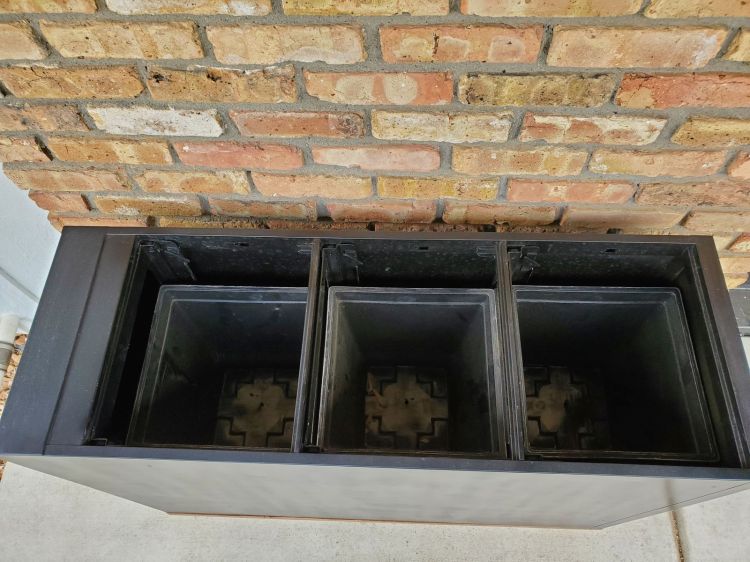
My printer is way too small for such a bucket at once, so each bucket had to be split into quarters and then cemented together. I normally print most of my stuff in PLA, but since these would sit in black metal on a hot summer porch, I was worried that it might get to temps that can deform PLA – PETG to the rescue. To make the print faster, I kept the sides short and added them afterward with pieces of plastic insulation.
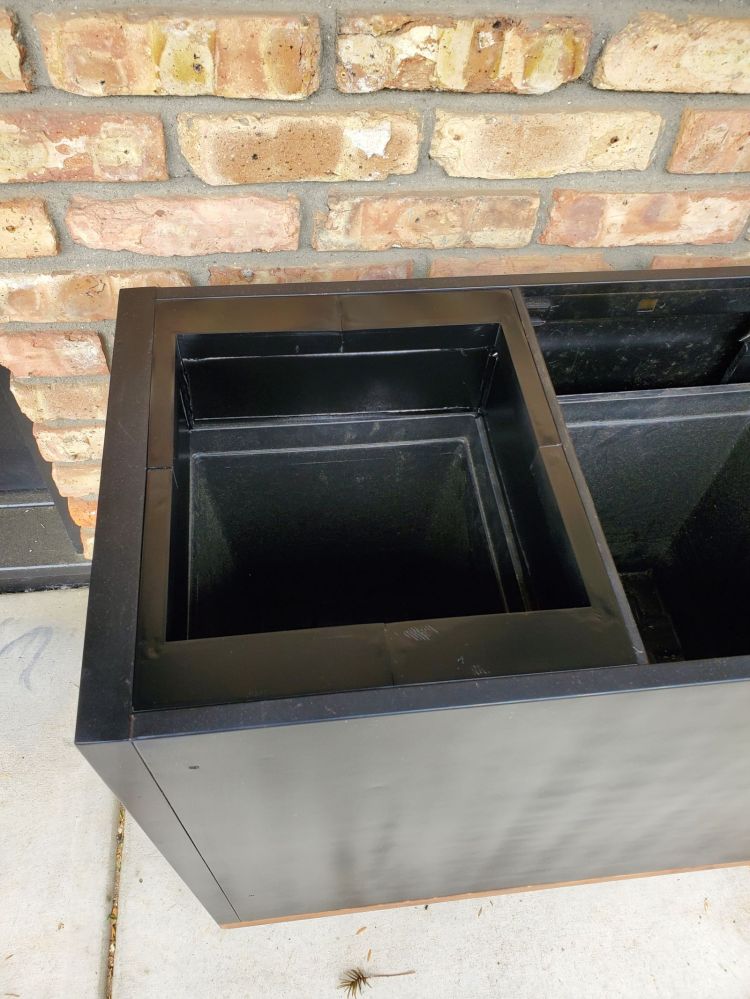
Once cemented together, the bins fit flush inside each empty drawer, ready to fill in with some rocks for drainage, dirt, and of course, flowers.

