As I delve into more terrain making for table-top RPGs and wargaming, one of the things I like most about the hobby is the ability to take all sorts of normally unwanted materials and turn them into something awesome looking and functional. So as I build more terrain, I am trying to make more use of whatever I have laying around. When I got this piece of packaging from an air conditioner, I knew I had to make it into a large scale terrain piece:
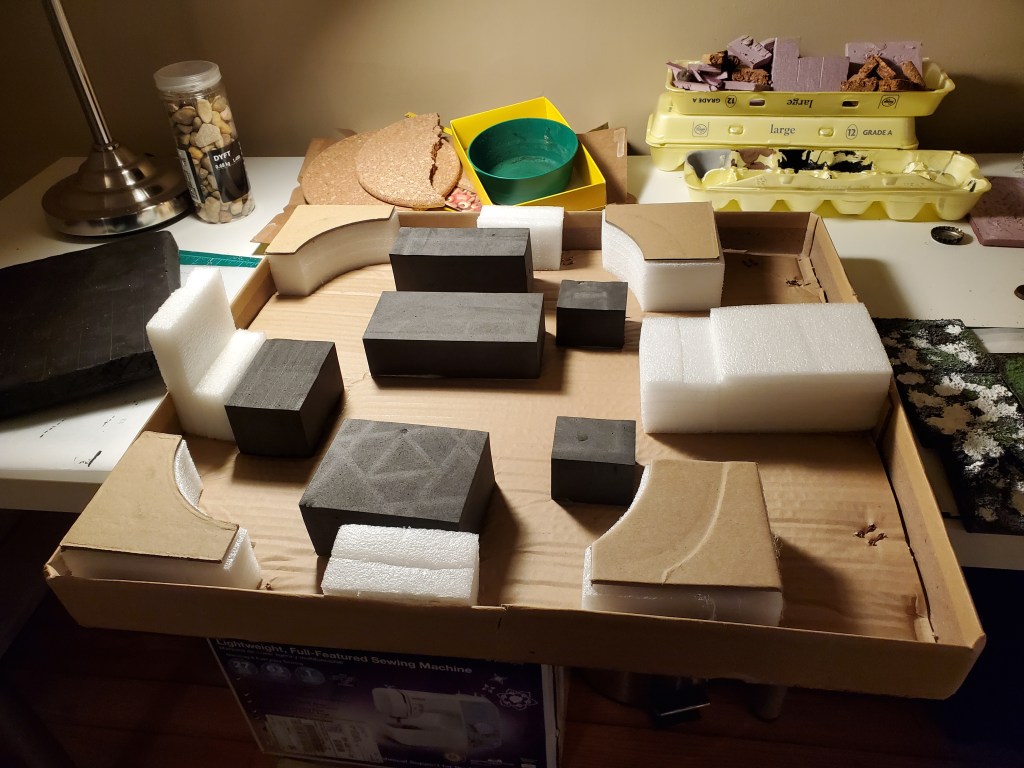
I decided on a temple build – the cardboard and white foam would be the remains of an ancient temple built in a rocky, desert environment, while the black foam pieces would be makeshift shelters built by the temple’s current inhabitants.
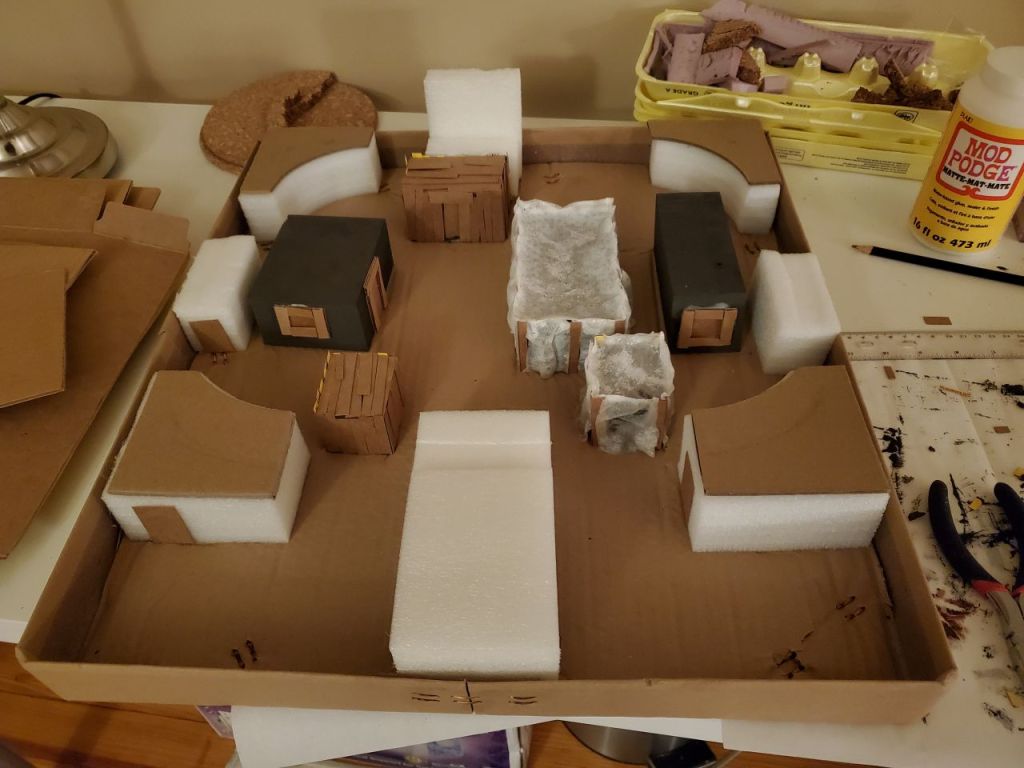
I began with the three kinds of the current inhabitants’s shelters – wooden plank buildings, tents, and clay buildings. I started the wooden plank buildings by cutting strips of cereal boxes and gluing them on in a somewhat haphazard fashion. I wanted to convey a sense of really makeshift buildings with these.
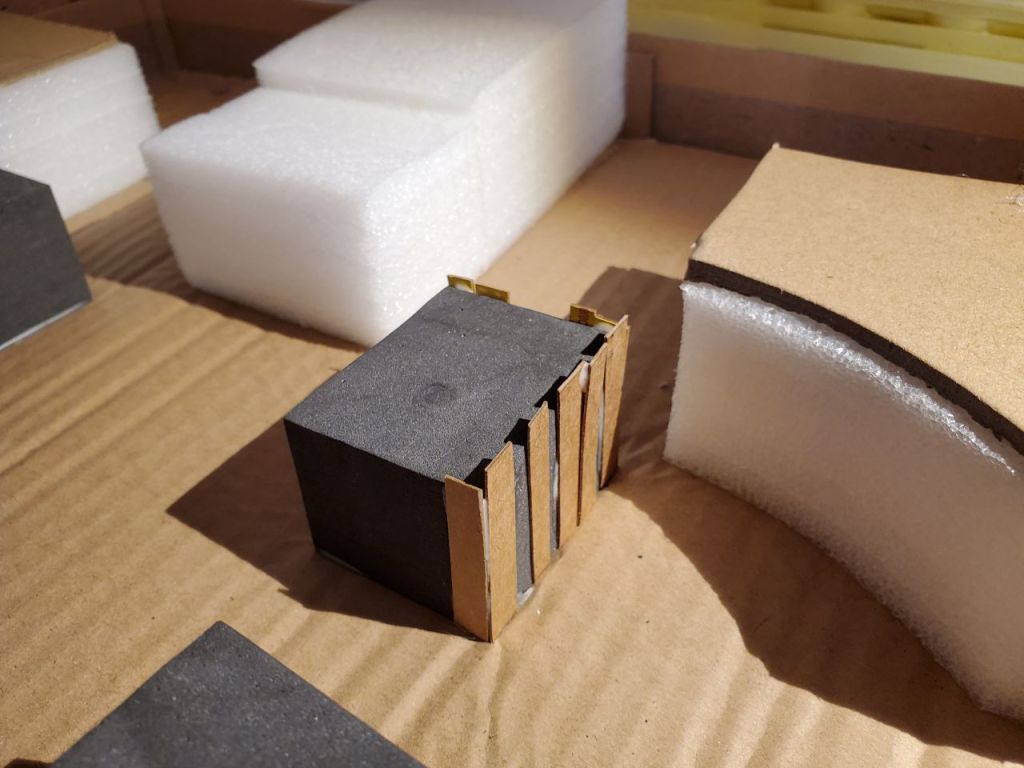
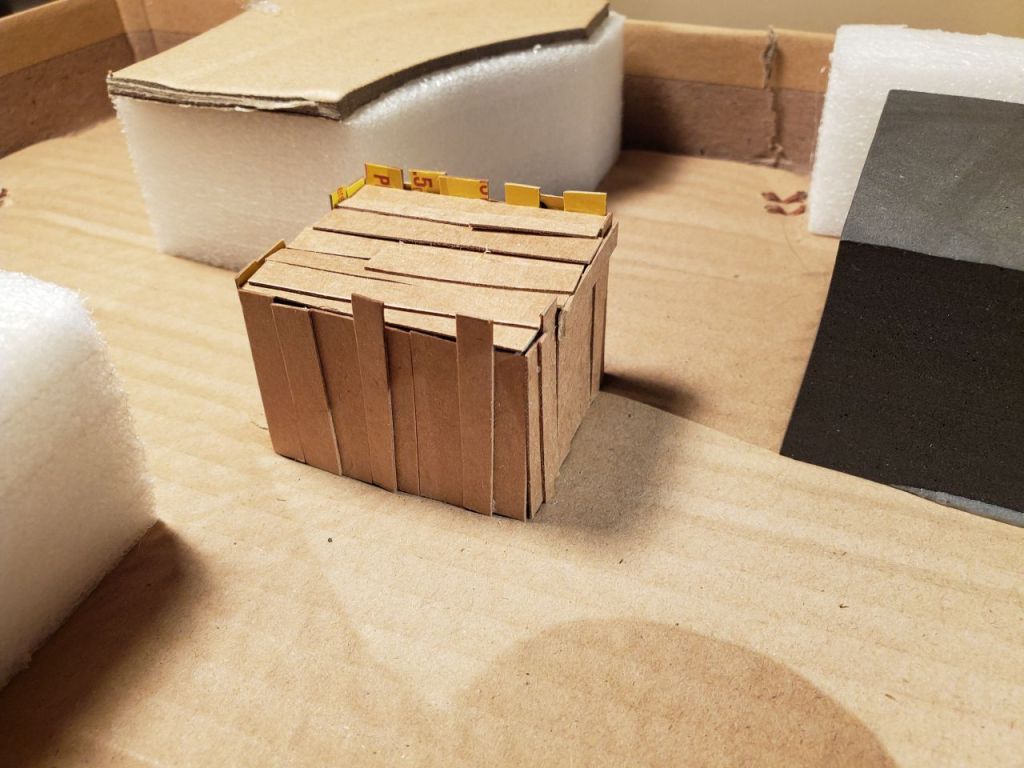

I also spaced the cardboard posts around the two buildings that were going to be tents for the tent poles.
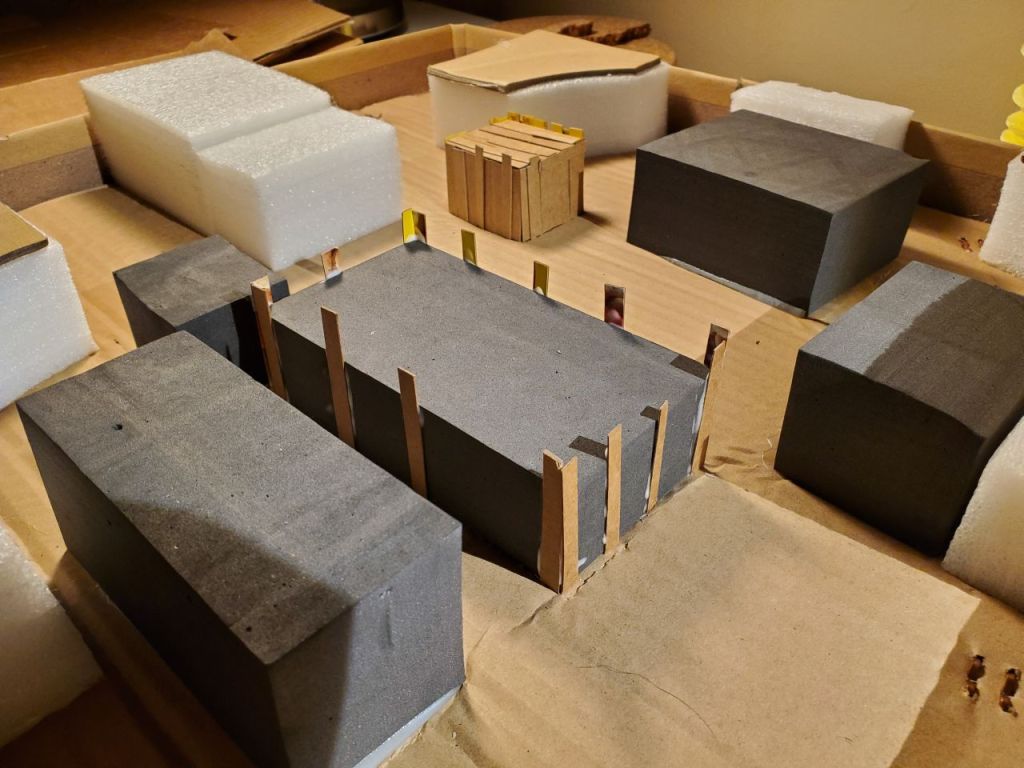
Two complete wood plank buildings and two tents with their posts attached:

Next I made the tents out of some more easy available material: paper towels. Cut a paper towel to fit each section of the tent tarp, soak the towel in Mod Podge, and place on the foam. Once placed, it takes a bit of fiddling with to arrange in nice way, making sure there are plenty of folds and curves to it.


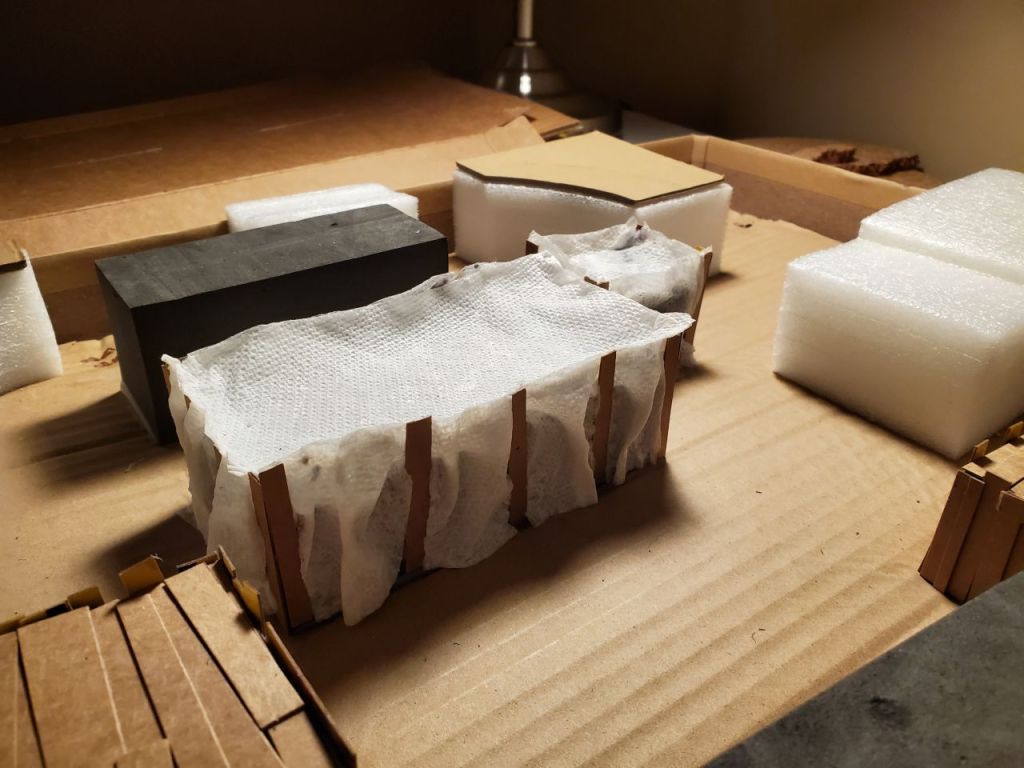
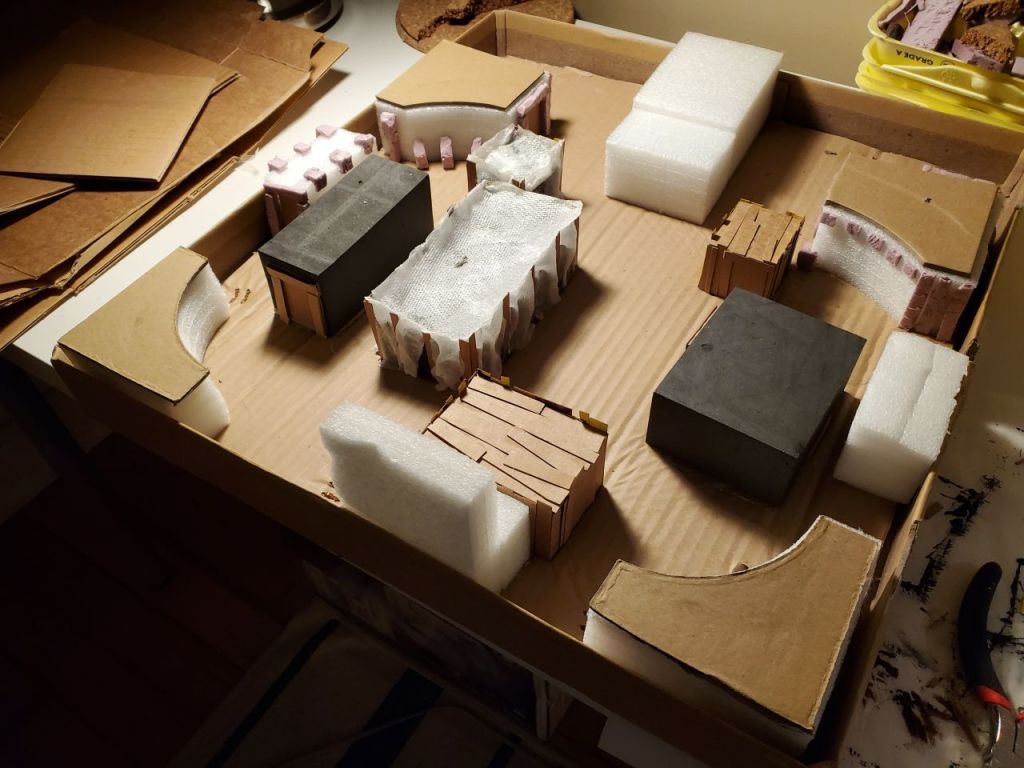
The paper towel is very weak while soaked in the Mod Podge, but once dried it forms a very strong, easily paintable surface for your terrain. To complete the black foam buildings, I cut out some windows and doors from some thicker packaging cardboard and glued them to the remaining two buildings.
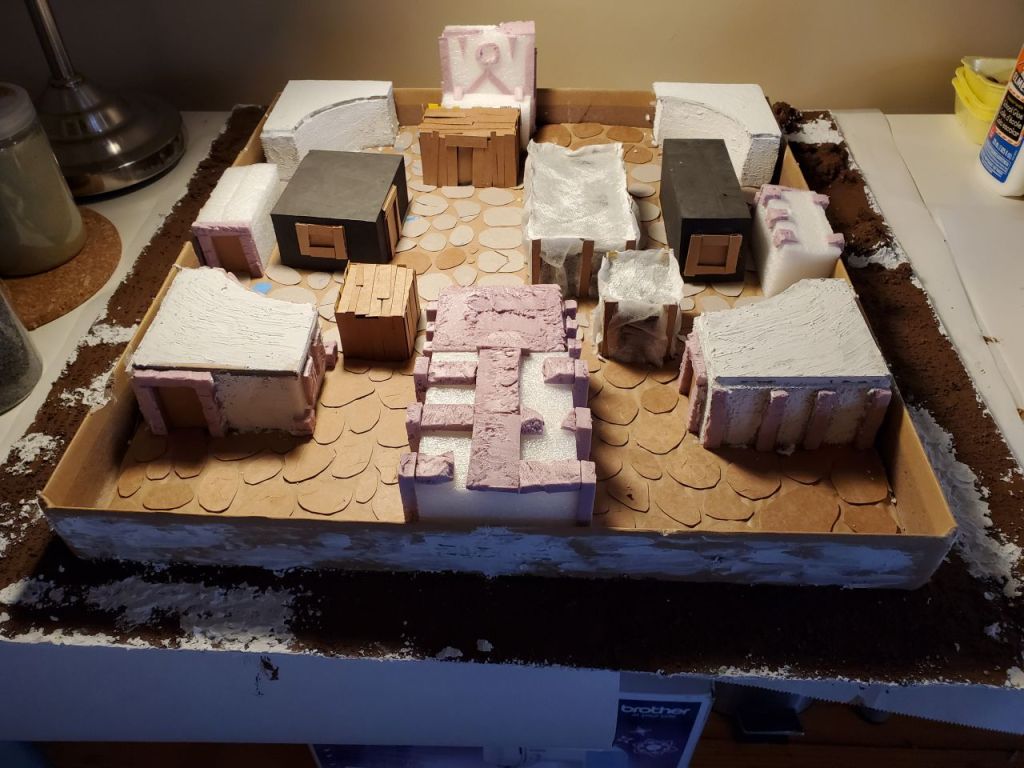
The next stage to tackle was the temple walls and buildings. To give some detail to the stone temple buildings, I cut out some larger stones and columns out of XPS foam and glued them to the white foam buildings. I tried to give them all jagged, worn cuts and added different features to each building to make them stand out.

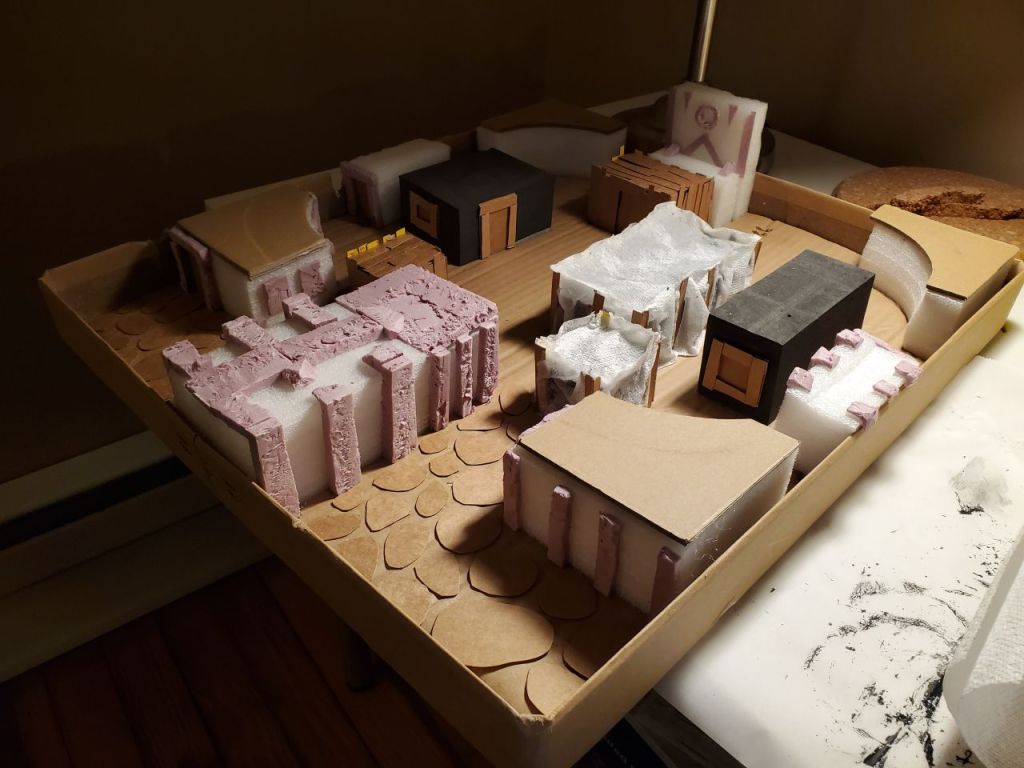
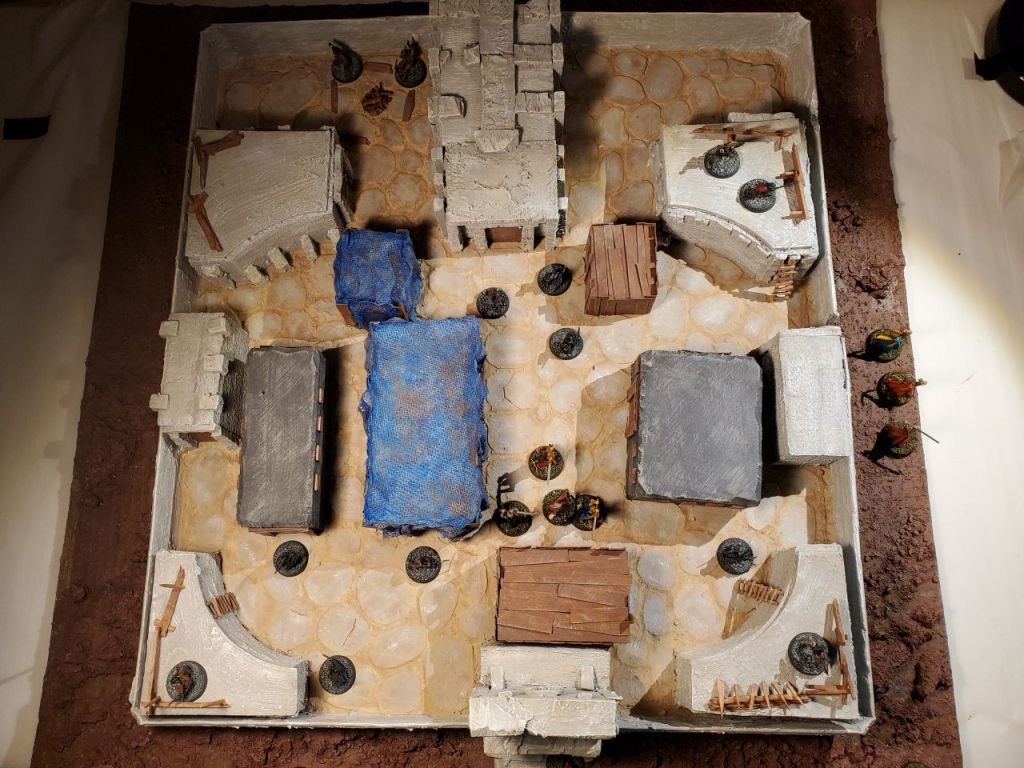
For the ground surface on the temple I wanted a laid stonework look, so I went back to the cereal boxes and started cutting out a bunch of irregular ovalish shapes to glue down. After I glued down a section, I realized that based on the average mini size it probably would have looked better to use a stone pattern that was laid closer together, but I didn’t want to redo all of that work, so I just pressed on with the pattern I started out with and hoped for the best. This was one of the most lengthy parts of this entire build. One corner of laying tiles took me about an hour to cut out and glue down.
At the same time, to break of the monotony of gluing stone tiles down, I began to construct the outside of the temple. I fit a cardboard base onto the temple that measured 2 ft x 2ft. Around the outside I added some XPS foam doors, and scattered cork pieces and pebbles to give the terrain some texture.

I gave the ground around the temple a base coat of dark brown and then began texturing the rest of the model before painting. The main texture for the rest of the model was wall spackling. I used it to fill in some gaps on the outside ground, coated the walls and stone buildings with a thin coat to give a rough surface, and lastly smeared it in all of the cracks between the stone tiles to give the impression of stone tiling.
Once almost everything had a nice coat of spackle, I gave all of the stone buildings a base coat in light grey, trying to achieve a very aged stone look. The wood beams were scored with a utility knife to give them some texture before being coated with a very watered down dark brown to give a stained look.
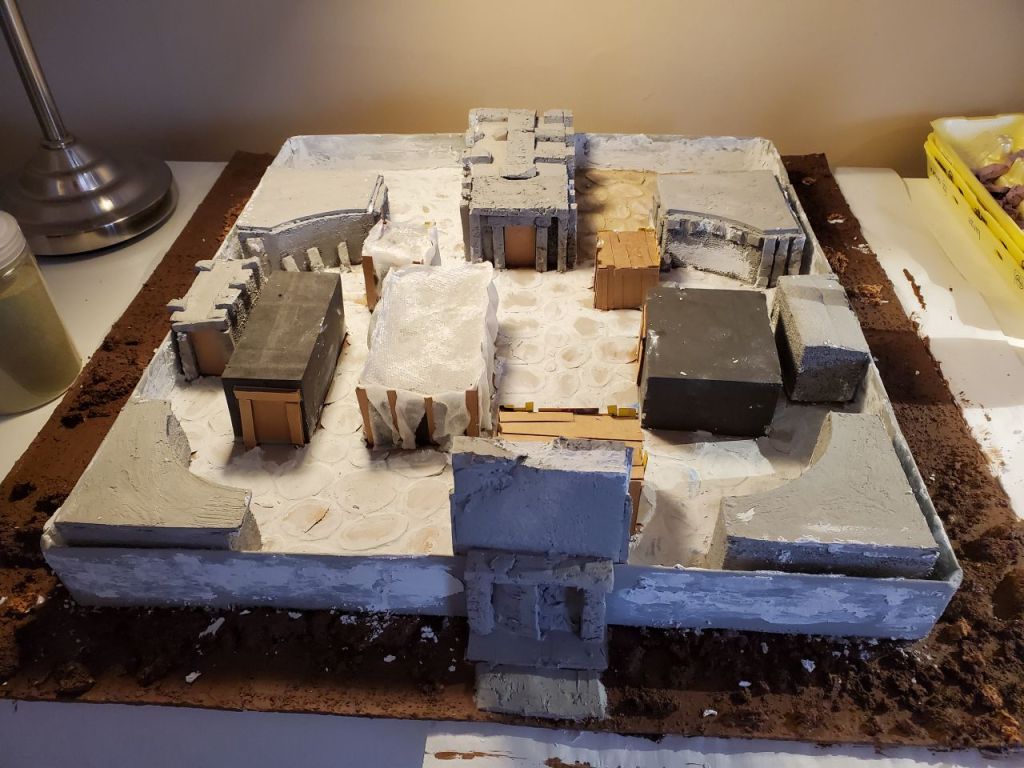
Once the stone had a base of grey, I covered all of the spackle on the ground with a light brown, then used a heavy dry brush of the light grey over the tops of the stones, blending them together. The tents get a base coat of a deep blue, and the clay buildings got their corners rounded off and a dark grey base coat.
To finish the painting up, everything was dry brushed with the light brown and then a very light white dry brush, covering everything with a layer of dirt and age.

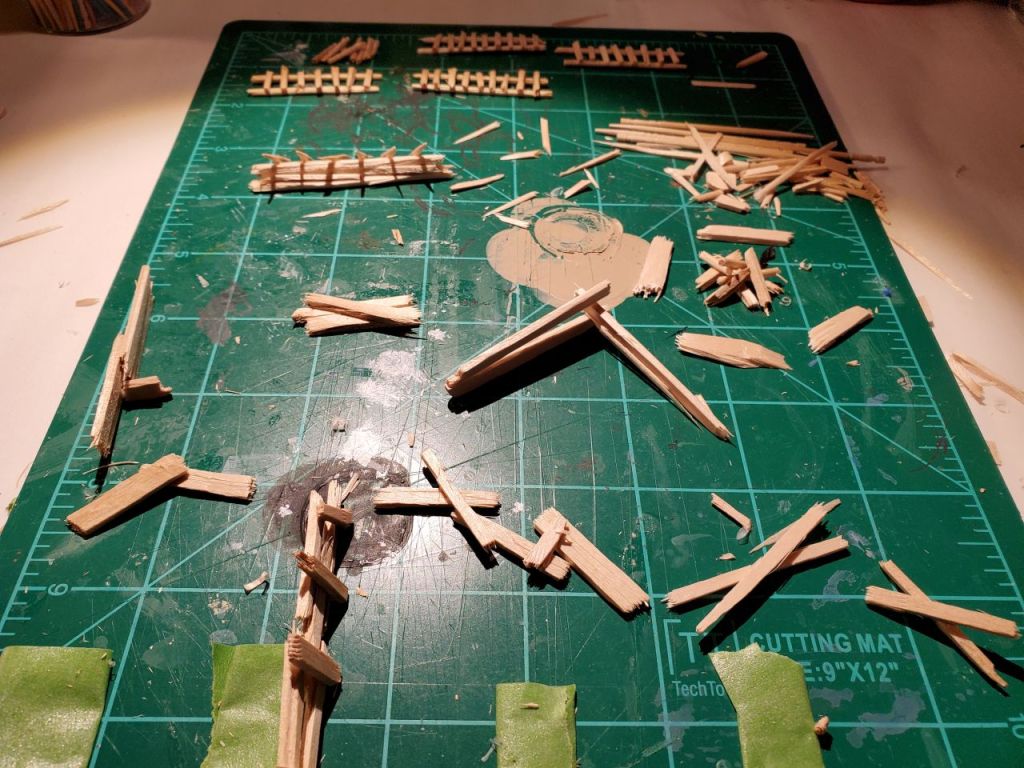
To make it seem more lived in, I made some barriers and ladders to place on the roofs. The ladders were made from toothpicks with shards of craft sticks glued to them. The rest of the barricades were made by snapping a bunch of craft sticks in various sizes, then gluing them together in a rough criss-cross pattern. They are finished with a very watered down dark brown to give them a stained look.
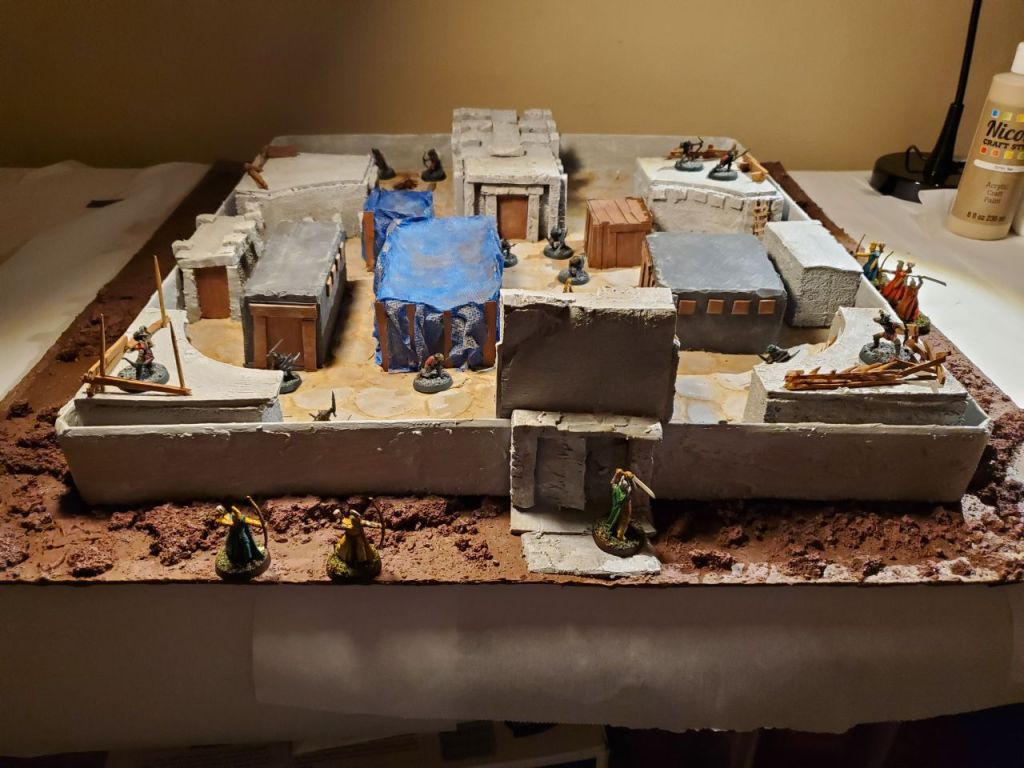
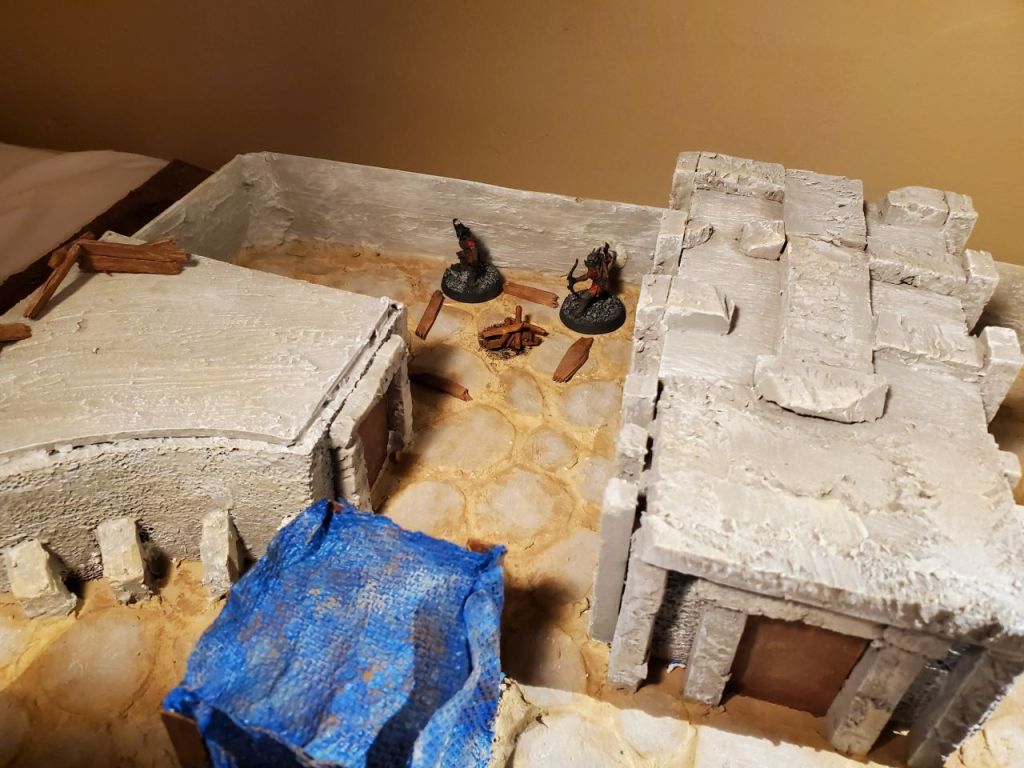
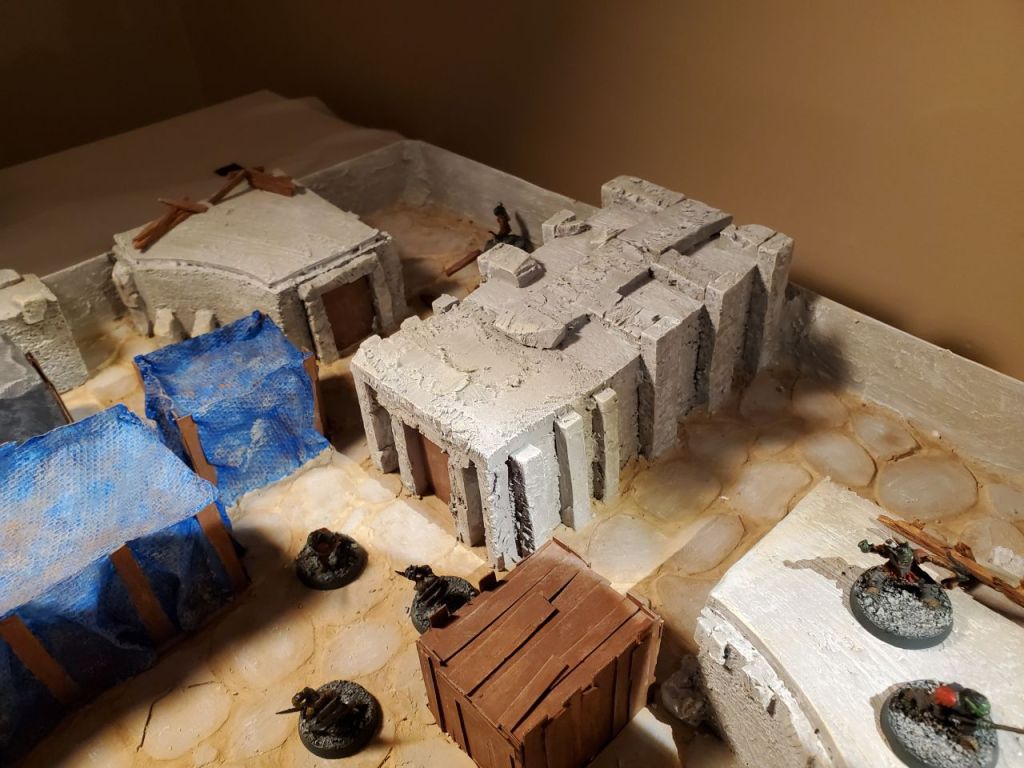
The finished project, staged with goblins and elves: