A common toy for toddlers now is an activity board – a board full of small manipulative objects to interact with. After seeing several examples of them for sale, I figured it would not be too much of a challenge to build one myself. With our little one having a fascination in space and space flight, I figured that making a space station themed activity table would be a great activity for her and a great way to expand my electronics knowledge, which I have been hoping to do more of.
First step was to plan the layout of the station. Over several months I gathered together various switches and knobs and lights from different online sources and dissembling of scrap electronics I had around the house. Once I put together enough, it was time to lay everything out.

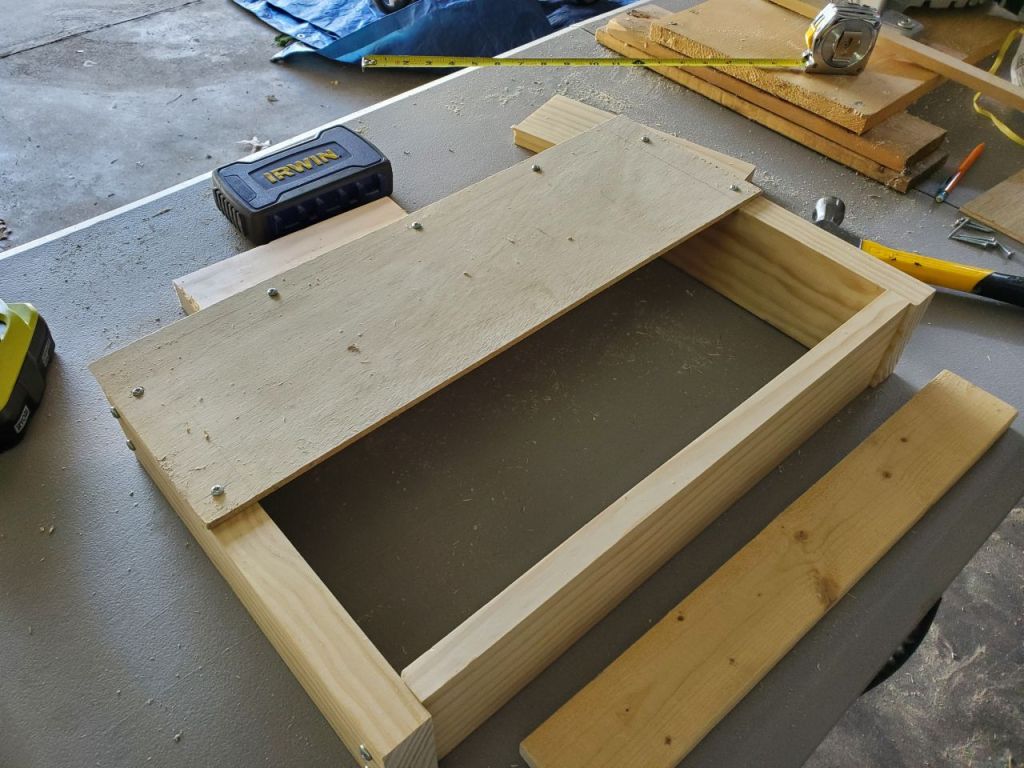
Next up was creating the box for the electronics. I found enough scrap wood in my garage to build it. It is a simple box made of thick pine boards screwed together, with a thin plywood top, thin enough to screw the components into, but thick enough to withstand a toddler’s beating. I started by cutting the pine boards to length.

Clamping them together I drilled two pilot holes in each corner and secured them with wood screws.


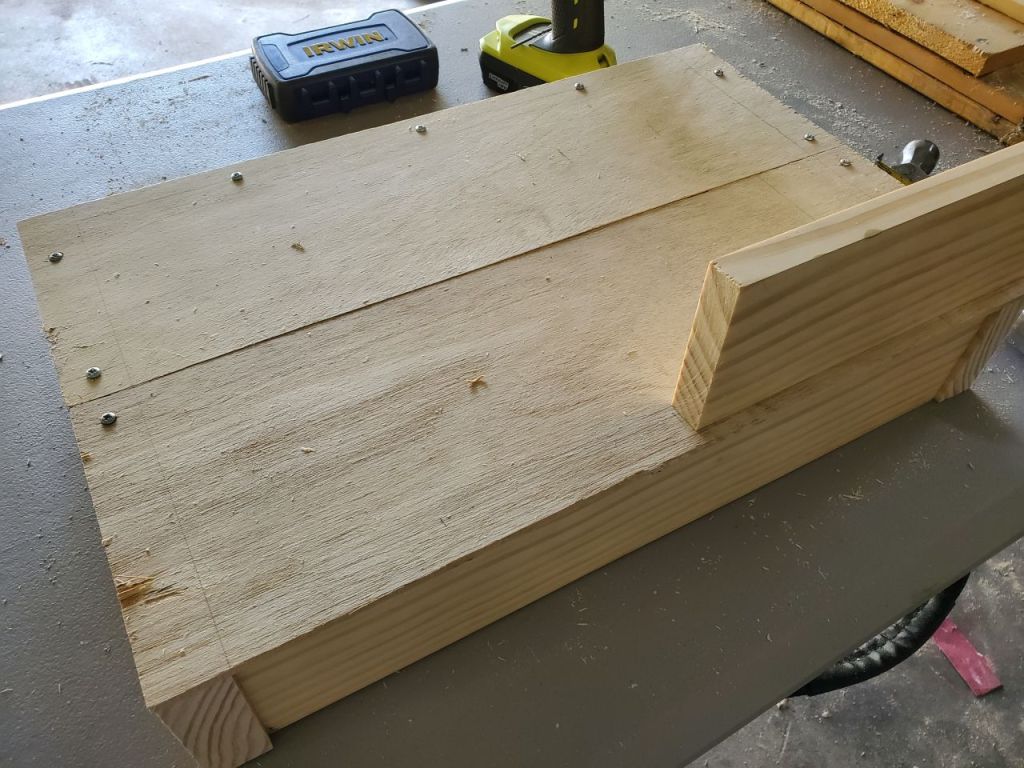
For the top, I had to cut the plywood into two pieces and then screw them into the top. Preferably I would have just used one large piece, but I didn’t have anything big enough on hand. I used plenty of screws on the outside of the piece, which gave it plenty of stability but also led to a nice industrial aesthetic.
To make sure the screws were dead center in drilling in the top, I used a scrap piece of side board to trace the boards under earth on top.

I forgot to take pictures of the final part of the box construction, but because of the seam on the top, I fit a cross beam on the inside of the box, which allows for plenty of force to be applied to any part of the top.
The next step was drilling all of the holes for the components. I first made a sample board and tested different drill diameters until I found the best fit for each one (none of my components came with any sort of spec sheet).
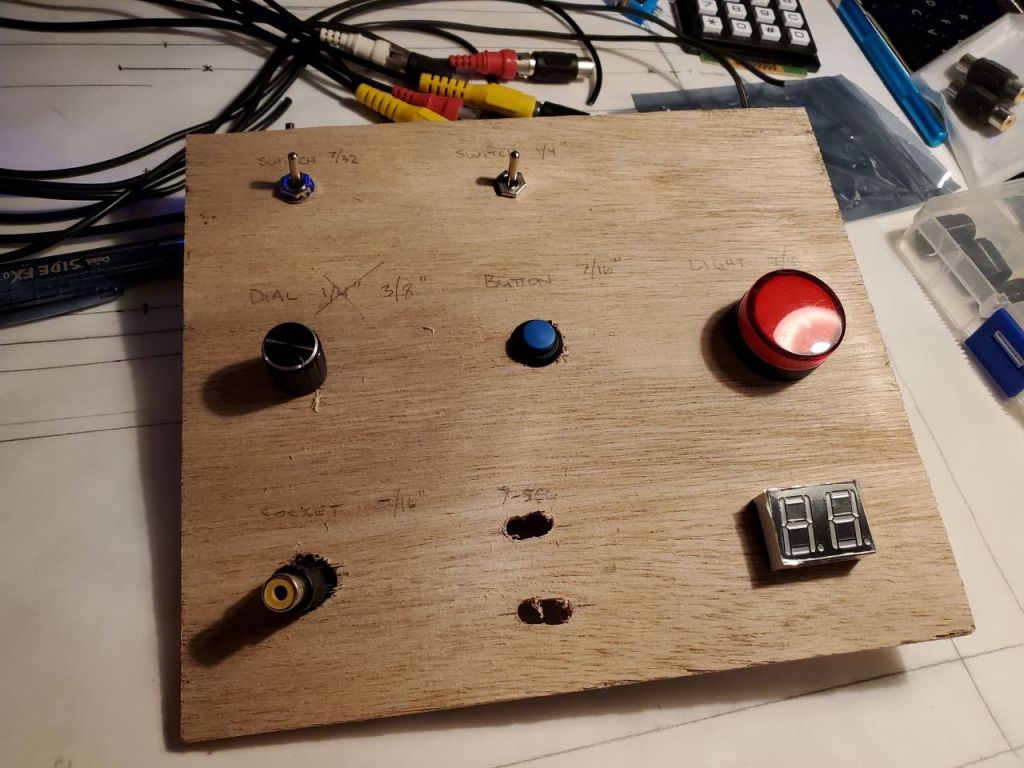
Once I got the right fit, I mapped out all of the components on parchment paper, secured the paper on top of the box, and drilled out all of the holes.


Once the holes were drilled, I spray painted the whole thing black, soldered connective wires on all of the components, and screwed all of the components in. The seven segment displays and the led’s were hot glued in place and will be further secured with circuit boards on the opposite side. The 16 key panel was secured with several metal bars screwed into the back of it. The keyboard was secured with superglue and a single screw that fit into a socket in the middle of its back.


Next step is to wire everything up! There is still a good amount of work to be done, but I am very surprised with how well this stage got together. Hopefully I’ll be posting an update with it functional fairly soon.
